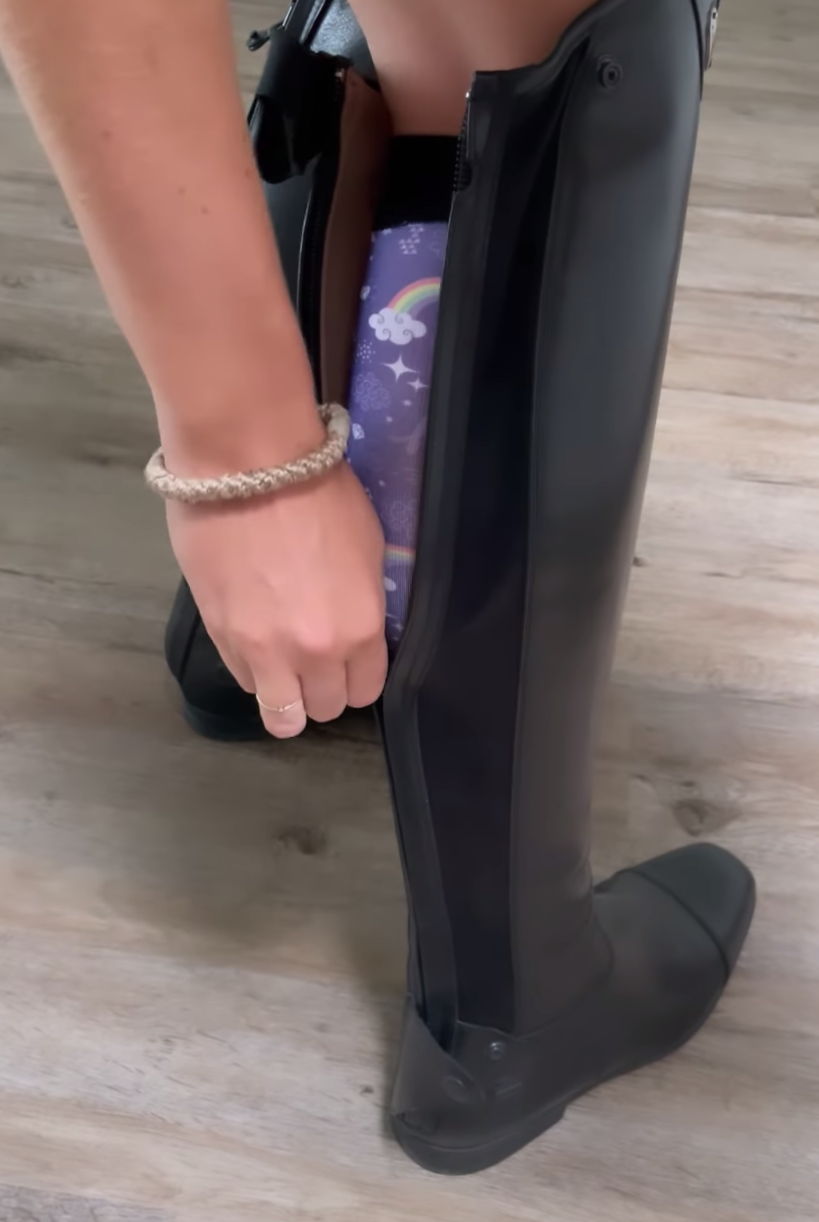
I get asked ALL THE TIME how to break in new riding boots! Today, I’m going to share my secret to perfectly breaking in your boots so they fit perfectly. An important note: it is important that your boots fit properly to begin with…they should be SNUG! If you can pretty easily zipper up brand new tall boots, they are most likely too big for you and you could get a lot of wrinkles at the ankle and your boot could drop significantly.

This is what I did to break in my recent pair that literally ACHED to wear…they were super snug and this method did just the trick. I have a pretty large calf, but small ankle, so it was important that the boots stretched just the right amount in the right places.
I call this the “wet sock method” – so you’ll need a pair of thin socks like the ones from Dreamers n’ Schemers. I started by wetting the boots and the sock, and wearing both just over my bare leg, walking around the house. Once they had stretched enough, I was able to repeat the wet sock but over riding leggings. It only took a few times and gradually increasing the number of layers to get my new boots perfectly broken in!
The keys are:
👢wet the socks too and use really thin ones that don’t add extra bulk! I feel like this helps the boot stretch and mold to your leg even more!
👢once they can zipper up a little more easily try the same method but with a pair of leggings, socks and boots (I needed Ethan’s help to zipper them still)
👢when you’re ready to ride, don’t feel like you have to zipper them all the way up if they hurt (sometimes the back is still high up and cuts into the back of your knee.. moleskin or vetwrap helps!)
👢don’t try to show or have a big ride/lesson until you feel like you can focus on your riding and not your boots! Take advantage of lighter rides, trail rides, etc. to break these babies in!
This method really cut down my break-in time to just a few days. Good luck, and let me know how this method works for you!